How to Operate a Mini Excavator: The Ultimate Guide for Beginners
Dive into the world of mini excavators with our beginner’s guide, designed to demystify operations and boost your confidence in handling these versatile machines.
How to operate a mini excavator for the first time may seem daunting for some, but these compact and versatile machines are easy to use with some basic knowledge. Whether you’re a homeowner looking to do landscaping work or a contractor undertaking a construction project, understanding proper mini excavator operation is key for working efficiently and safely.
This comprehensive guide will teach you everything you need to know as a beginner, from getting acquainted with the controls to performing routine maintenance. With helpful operating tips and step-by-step instructions, you’ll gain the skills and confidence to handle a mini excavator like a pro.
Key Takeaways
1. Familiarize yourself with the excavator’s components and controls before operation.
2. Conduct thorough preoperative checks for safety and efficiency.
3. Follow a systematic approach for starting, digging, loading, and dumping operations.
4. Implement regular maintenance to prolong the excavator’s life and performance.
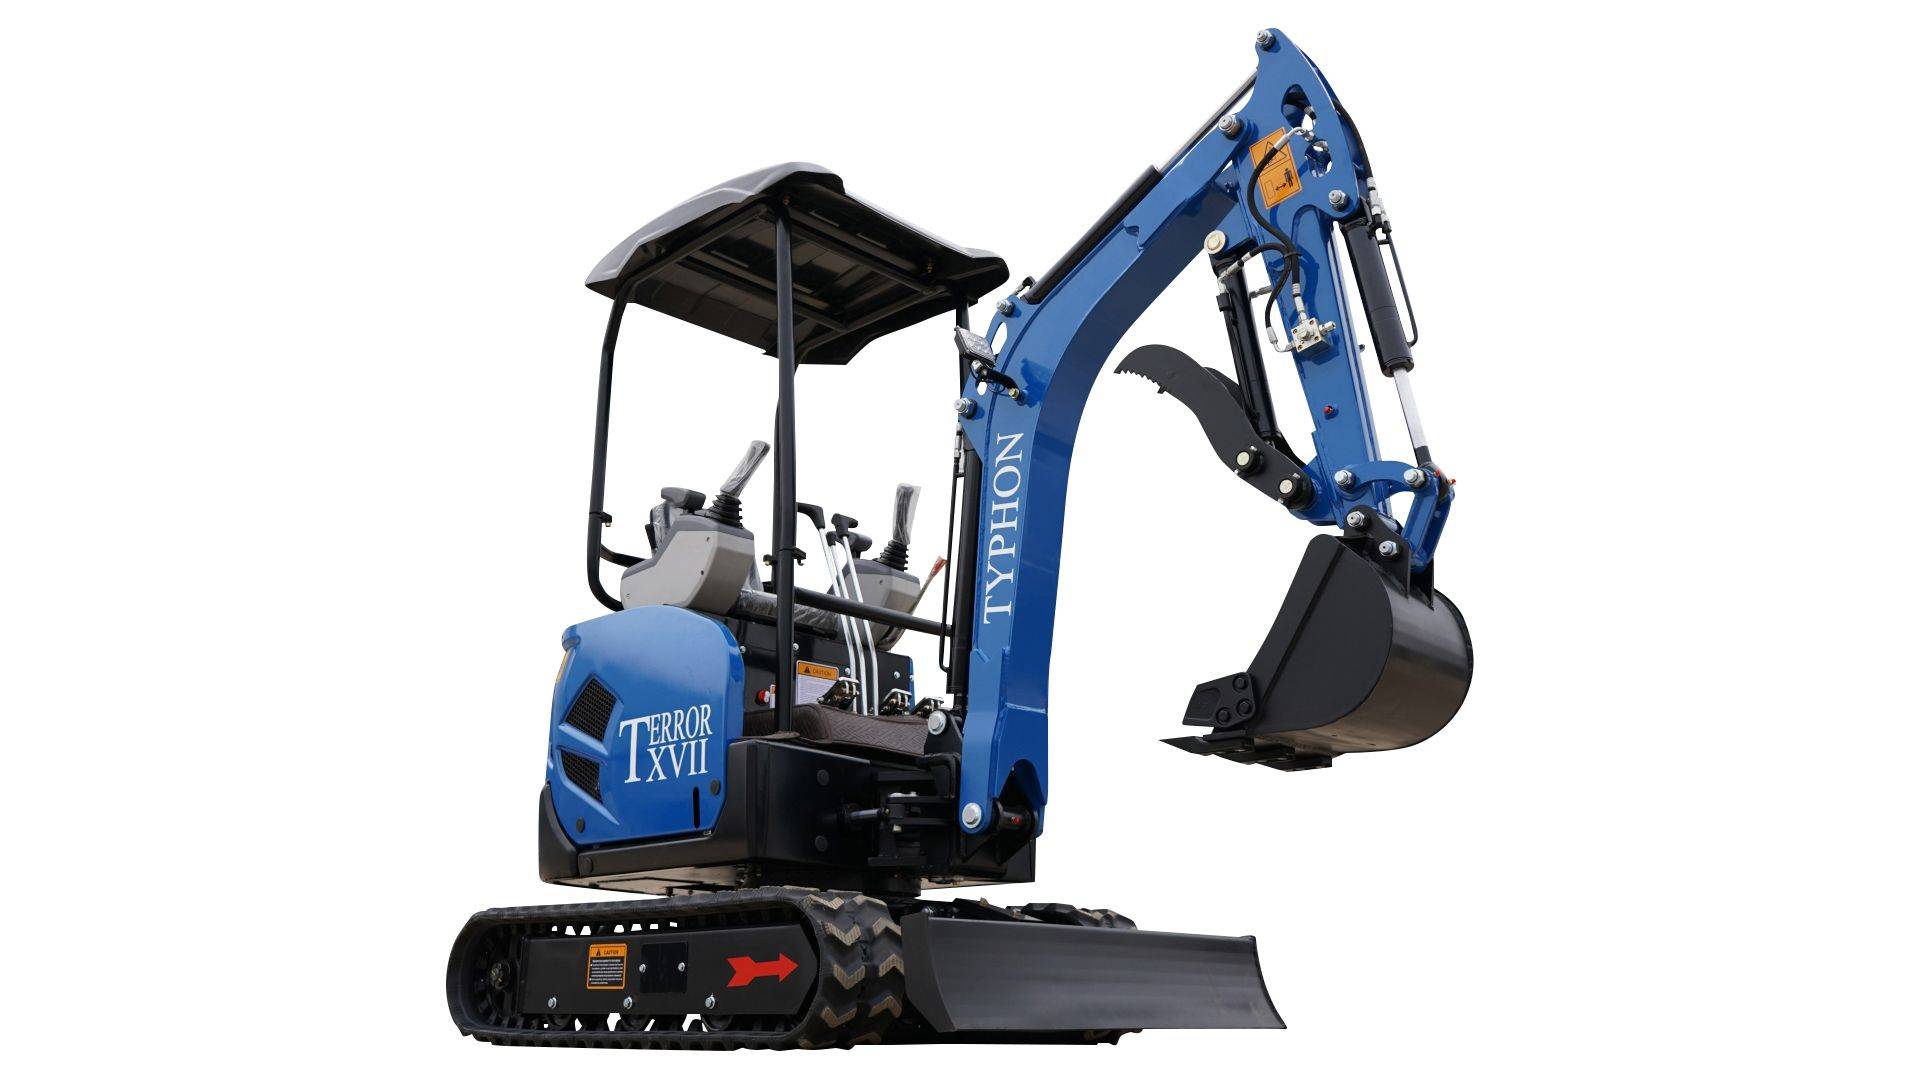
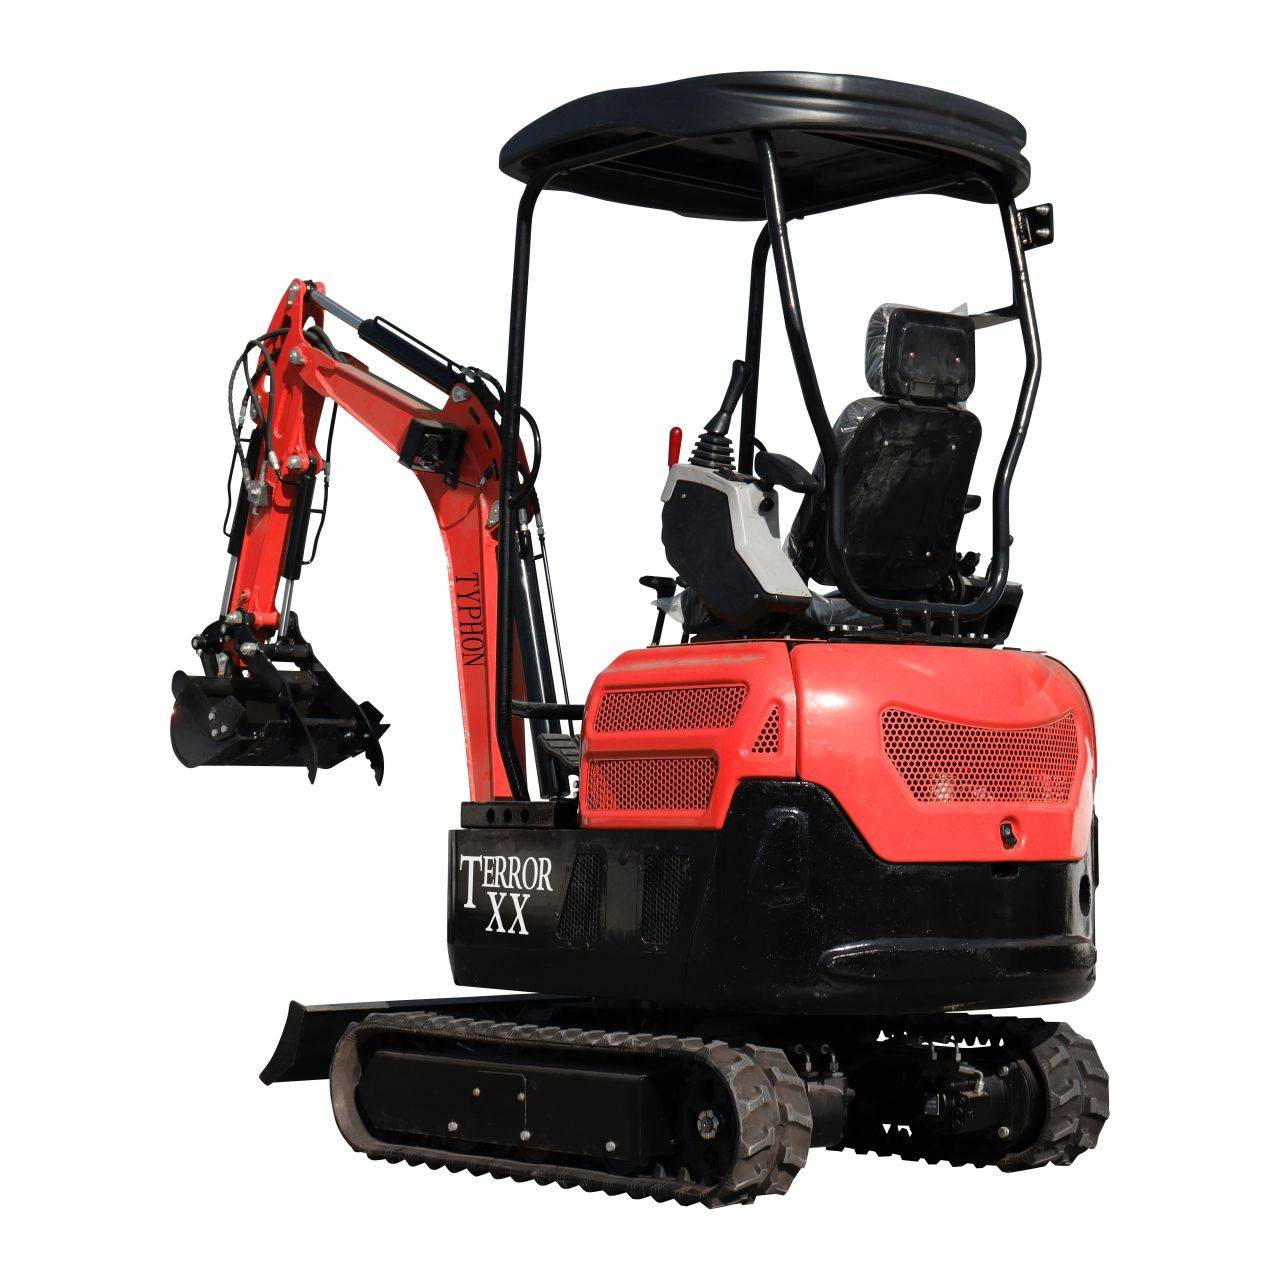
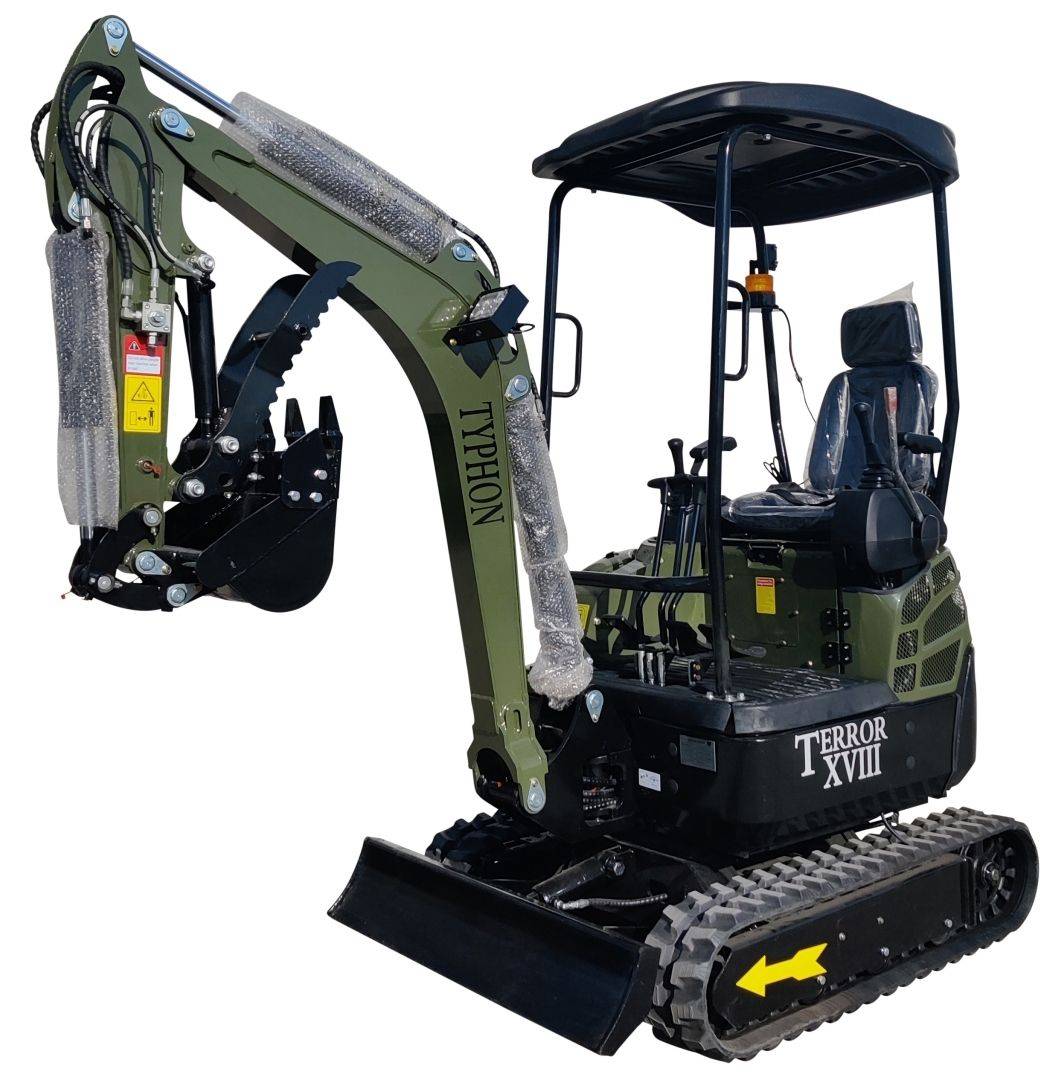
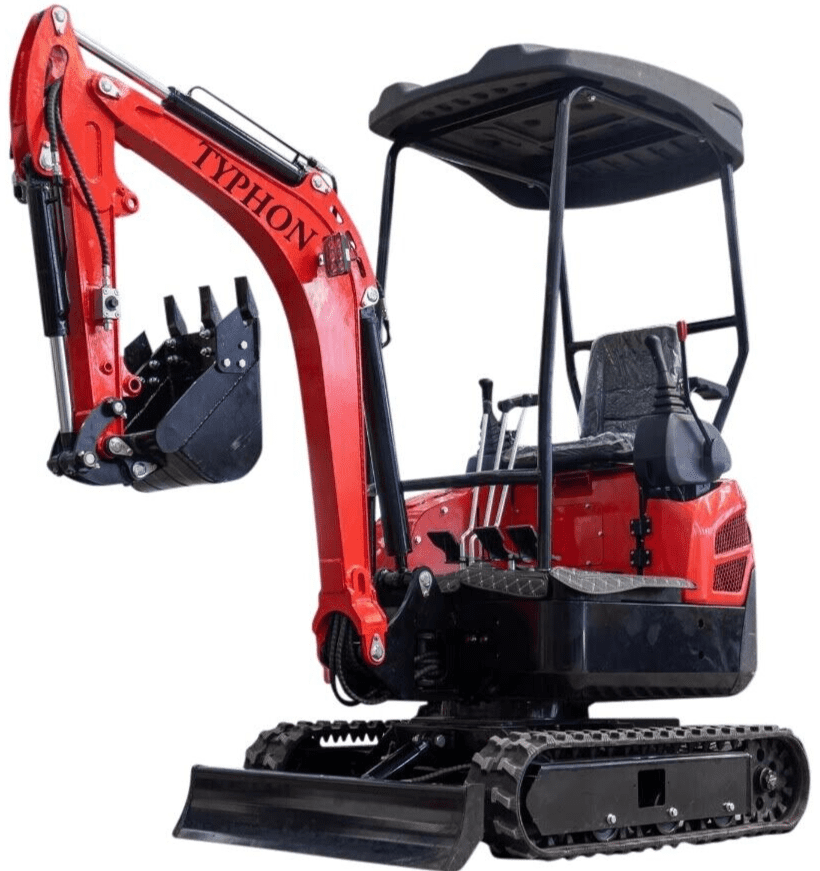
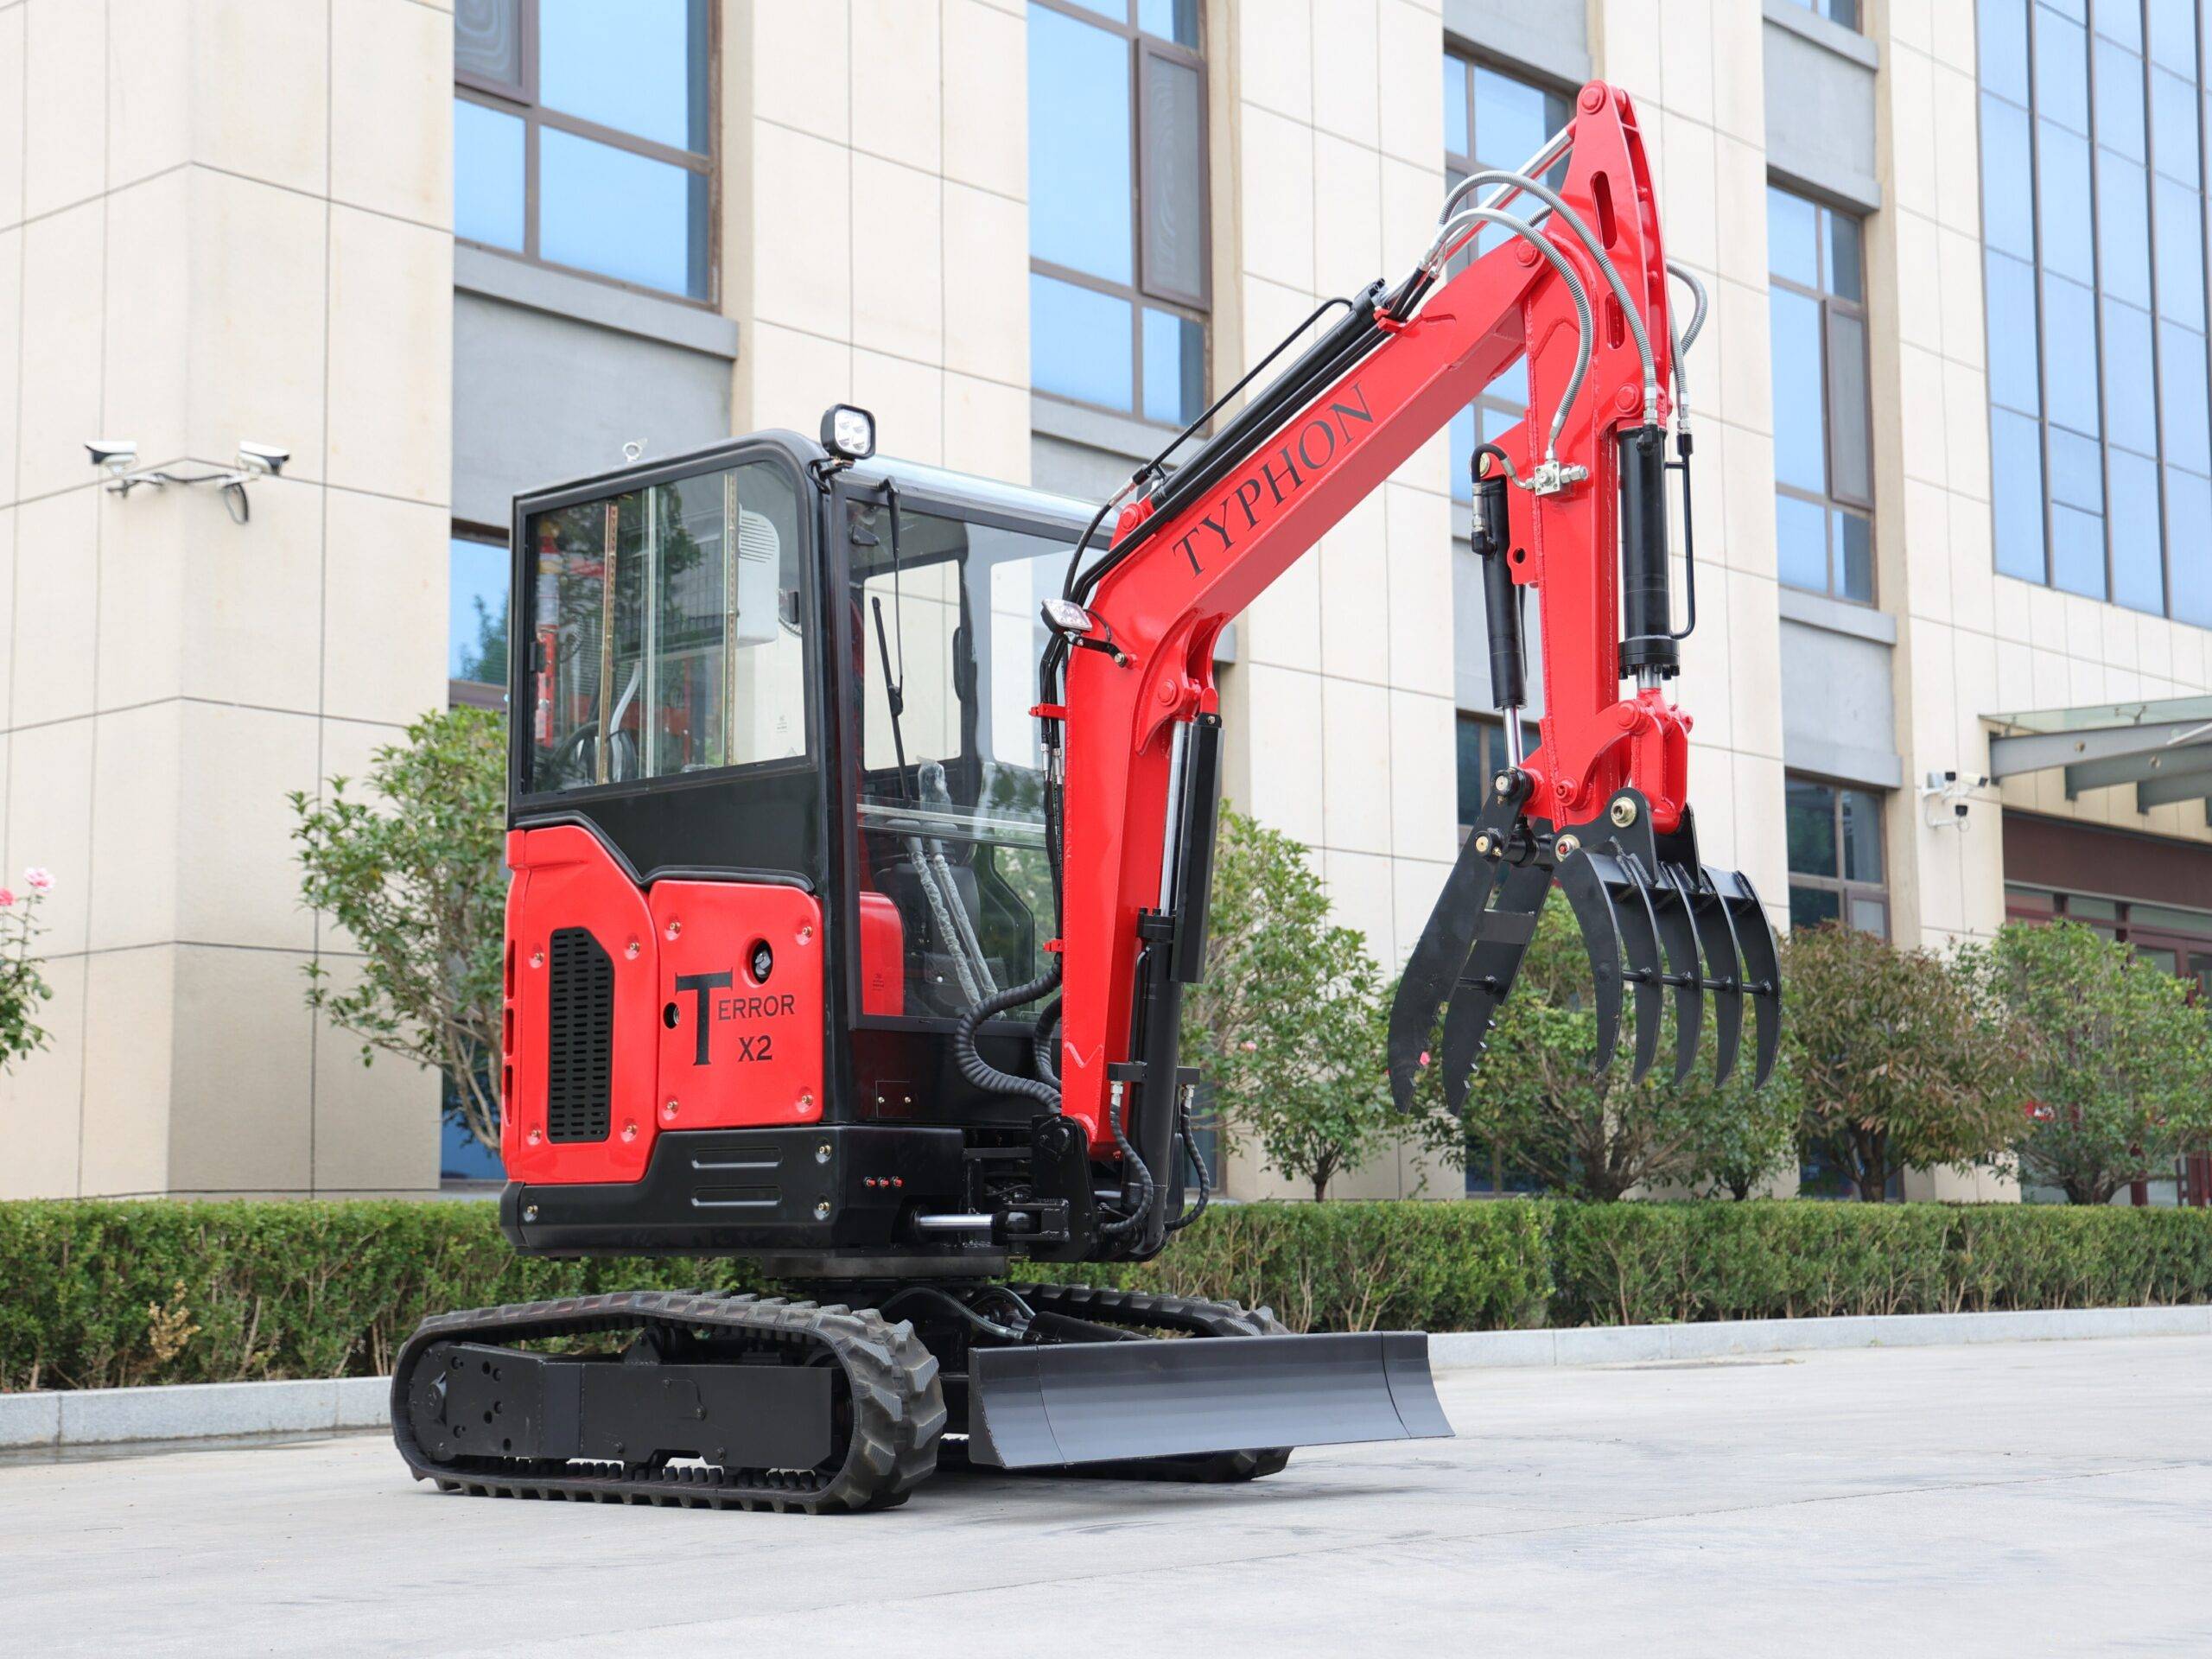
Getting Acquainted with Your Mini Excavator
Familiarizing oneself with the components and controls of a small excavator is the first step to running it properly. Though manufacturers have different models, most micro excavators have similar characteristics, including:
● Cab – The confined space the operator uses to move the controls.
● Boom – The lengthy front arm used for bucket movement and holding.
● Dipper/Stick – The part connecting the taxi to the boom
● Bucket – One digs using the curved scoop on the end.
● Tracks –The metal belts guiding and propelling the excavator.
● Blade – The metal plate on the front is used to stabilize and grade
Before starting the engine, locate key parts like the safety lever, throttle, fluid levels, and warning decals. Understanding the function of each joystick, pedal, and button will help you efficiently control the mini excavator later on.
Pre-Operational Safety and Inspection Checks
Safe operation of the small excavator depends on careful inspection of your surroundings as well. Consult this pre-start checklist:The Complete Guide for Novaters on Mini Excavator Operation
- Look under the machine for evidence of fluid leaks—that is, coolant, gasoline, or oil that can make surfaces slick.
- Verify attachments—make sure buckets, breakers, grapples, or other gear are fixed appropriately and securely.
- Look for enough tension and any trapped links or too much wear on belts and tracks.
- Test every pedal and control to make sure everything is responsive and running without faults.
- Look for obstacles; go around looking for trash, trenches, and potentially interfering overhead wires.
- Use correct rigging; if transporting, securely strap the excavator on a trailer suitable for its weight.
Don’t forget to wear steel-toe boots and other PPE like gloves, hats, and high-visibility vests.
Step-by-Step Guide to Operating a Mini Excavator
It’s time to fire the small excavator and hone your talents after you have finished all pre-operation inspections. Proceed as follows:
Starting the Engine and Basic Maneuvers
Complete Safety Checks
Complete all pre-operational safety and inspection tests before running the engine. This includes looking around for any dangers or blockages as well as checking the mini excavator for fluid leaks, damage, loose components, and other problems. Operating large equipment usually requires primary consideration for safety.
Get Settled in the Cab
Once you decide it is safe to go, settle inside the taxi and buckle your seat belt. Mini excavators have seatbelts incorporated as a vital protection device in case of a rollover or other disaster; they should be always worn while operation. Spend some time becoming comfortable, familiarizing yourself with the pedal and control locations, and, if necessary, modify the seat position.
Start the Engine
To start the engine, just like in a car, put the key in the ignition or enter the PIN when you’re ready. Before using the tracks or boom, let the engine run at idle speed for one to two minutes. This lets the hydraulic fluid flow and lube the parts. Find the safety button or cutoff and disconnect it. This keeps the controls from moving by mistake while the engine is starting.
Adjust Controls
Set the throttle to the right rest speed for the small excavator type. At first, this is usually between 1,200 and 1,500 rpm. Once digging and loading start, the throttle will need to be sped up. To stop the tracks from moving when the machine is stopped, release the handles or bars that hold them in place. Lastly, move the drive control joysticks, the boom lever, and the bucket curl control slowly while the machine is still to get a feel for how they work before you try to drive or dig.
Digging and Excavation Techniques
Position Mini Excavator
Before you can dig a trench or a hole, you need to make sure that the small excavator’s tracks are lined up correctly so that they run parallel to the area you want to dig. The bucket curve and rolling arcs are intended to work best when the machine is square to the work area. This gives you the most force, reach, and steadiness as you dig.
Stabilize the Machine
Before lowering or stretching any parts of the boom, make sure the machine is safe by firmly putting the front dozer blade down on the ground. This slightly raises the tracks to keep the mini digger stable and stop it from moving when the loads move while digging. It also levels the car when the ground isn’t level.
Extend Dipper Arm
After stabilizing the mini digger, use the control joysticks to fully extend the dipper arm. This will let you reach the bucket from the farthest point away from the cab. When you connect the linking stick to the extending parts of the main boom, you can dig as deep as you want. When the arm is fully extended, use the right button to tilt the bucket downward until the scoop teeth touch the ground and the arm can start digging.
Dig into Material
Now, use the controls for the boom and bucket to dig into the ground. To fill the bucket, pull it back toward the cab. As you pull back on the shovel, curl the bucket toward it to get a full bite of the material and keep it from spilling. When the bucket is full, turn the excavator cab around to the side you chose as the dump zone. This could be a pile, a truck bed, or anywhere else the material needs to be dumped.
Loading and Dumping Materials
Maneuver Into Position
To load things quickly, you need to use methods and moves that are similar to digging, along with some organized moving around. Move the mini digger right next to the pile of materials that needs to be loaded or next to the truck that will be receiving the load.
Set Up Boom
Make sure the blade and boom positions allow the bucket to reach the top of the load while leaving 6 to 12 inches of space between the load and the tracks or wheels. This keeps damage from happening by driving up on the load or the sides of the truck or trailer. It also gives the driver room to twist and drive the bucket.
Scoop Material
While slowly moving forward with the bucket on top of the material, curl it out to the side. This will gather the material and fill the bucket at the same time. If you don’t want to go over the machine’s lift capacity rate, only fill the bucket halfway. To keep from falling over, back away from the pile or truck once it’s full.
Dump Loaded Bucket
The small digger should be moved to the edge of the platform where the waste will be dumped, either back into the original pile to compact it, onto a ready dump truck to be hauled away, or onto another vessel. Make the boom arm straight out and place the bucket directly on top of the empty car or storage pile. Next, use the to flip the curl of the bucket upside down.
Tips for Efficient and Safe Mini Excavator Operation
Mini excavators work best when they are inspected and operated correctly. Following these steps will keep them safe on the job site and protect you and others. Do these things:
Only Use Approved Attachments
Mini excavators can be made more useful by adding different tools like buckets, augers, grapples, hammers, and more. However, only use extras that the maker has approved to fit and function with the machine. Attachments that are too big or don’t have enough support can overload machines, causing them to break down or swing around without control, which can be dangerous. Using illegal devices can also void guarantees if they cause harm.
Call Before You Dig
As with any basement building job, you should call your local phone number to have utility lines marked before you start digging. In most places, dispatch locators can use this service for free. They use spray paint and signs to mark the level tracks of all underground lines and wires. Digging without knowing where natural gas pipes, data wires, or other infrastructure are located can cause service interruptions, damage that costs a lot to fix, and the chance of getting hurt.
Maintain Proper Stability
Do not put too much in the small excavator’s bucket or try to lift or reach things that the machine is not designed to do. This puts too much stress on the parts, which leads to early wear and major tipping risks. Make sure that the loads stay in the middle of the digger boom, and use the dozer blade to help you keep a solid position on the ground. Do not dig on ground that is too uneven, sloped, or unsteady. If you need more support, think about making smaller passes or moving tools.
Use Gradual Control Inputs
Uneven and sudden moves of the joystick will cause the boom to be placed incorrectly, the hydraulic pistons to wear out faster, and the trailer to derail while it’s traveling. You can smoothly speed up and slow down the bucket, arm, and motion speeds using the controls. Changes in direction quickly while buckets are full also pose a threat to steadiness. Move the digger slowly and steadily from one spot on the site to another.
Shut Down Properly
Idle the engine for 5 minutes before turning it off when you’re done working for the day or longer. This will let the hydraulic fluid cool down slowly and evenly spread itself throughout the internal circuit. Never turn off the power switch right away after working hard on the machine. Once it’s cool, fully lower the clamps and then turn on the safety locks. If you want to take the bucket off, you need to install bucket supports.
Navigating Challenging Terrains and Tight Spaces
Because they are small, mini excavators can get to hard-to-reach places and work on difficult spots more easily than bigger machines. Here’s how to do your best work when things get tough:
Tight Access: To get through gates or down streets, retract the outriggers and move the clips around. Go slowly and keep an eye out for things that might be in your way.
Hills and Slopes: The face goes straight up and down steep hills without turning so it doesn’t fall over. Keep the loads light and stay away from rough ground that could make the machine unstable.
Wet Ground: If the tracks are falling into the mud, put extra blocks or thick boards under them. To keep from getting stuck, slowly move forward onto the safe area.
Post-Operation Procedures and Maintenance
If you clean and fix up your small digger properly between uses, it will keep working well. After surgery, do these things:
- Park on flat ground. After 5 minutes, lower the clamps to the ground after the engine has cooled down.
- With the engine turned off, use three points of contact to get out of the cab. Then, stop your mini digger so that no one else can start it.
- Clean mud and other junk off of tracks, booms, and buckets without spraying sensitive parts and electrical connections directly.
- Once more, check the fluid level and add more if needed. Fill up the tank again to keep water from condensing overnight.
- Clean out the pedals and steps of any dirt that might get in the way of smooth operation next time.
- Check all of the hydraulic lines and connections. Replace broken lines or tighten links that are leaking.
If you follow the routine checks and tune-ups that come with your machine, you should not have any problems in the future. If you replace worn-out parts before they break, you can avoid downtime and rental fees if you don’t own the digger.
Check the temperature and consistency of the hydraulic oil. The fluid that is too hot leads to internal rust and pit seal failure before it should. You might want to add a gauge to find problems quickly.
Over time, contaminants build up in filters, which stops flow and makes pumps stop working. At times suggested, change the air, fuel, and hydraulic filters.
Finally, trained techs can find problems that you might miss, check for wear with fine tools, and fully test all systems during yearly professional checkups.
FAQ
What are the basic steps to operate a mini excavator for beginners?
To use a small digger, you need to do a few important things:
1. Learn how the machine works and how to use its parts and settings.
2. Do a safety check before starting up.
3. Start the engine and get used to making the most basic turns.
4. Get used to digging and other mining skills.
5. During the whole process, follow the safety rules. Beginners can safely and effectively use a small digger if they understand and follow these steps.
Do I need a license to operate a mini excavator?
Most places don’t require a special license to drive a small digger under a certain weight class. It’s pretty much the same as driving a normal car. Formal training is still suggested, though. For example, workers who have a telehandler license have shown they are skilled.
How difficult is it to operate a mini excavator?
The buttons work like those on other building tools, like skid steers. Precision and skill take time and practice, but to get started, all you need to know is how to turn with separate track controls, keep the dozer blade stable, and move attachments with hydraulic joysticks.
Is it bad to turn a mini excavator with a load?
When buckets are loaded or devices are moving, sharp turns can move the machine’s center of gravity, making it less stable. For the most safety, move slowly across terrain with the boom extended and curl offloads before changing direction. You can do this by driving in a straight line or wide circles.
Can you drive a mini excavator on roads?
Like tractors, mini excavators can’t be driven on public roads or routes next to other cars in most places. Instead, adhere to the regulations set forth by your local transportation department and move excavators safely on trucks rated for their weight.
Conclusion
With the right training and planning, it’s easy to learn how to use small tractors. By getting to know the tools, following basic instructions, and making safety a priority, even people who have never used them before can do boring jobs or move materials efficiently. It takes time spent behind the joysticks to get good at advanced moves.
On your next job, use the tips in this article. Also, don’t be afraid to call in an expert helper if you’re not sure what to do or if you need help with something specific. With their help and helpful how-tos like this, you’ll be a mini excavator pro in no time!